Regularly cleaning a bubbler bong prevents the buildup of resin and bacteria that can negatively impact your experience. A dirty bubbler affects the flavor of herbs and concentrates while potentially exposing you to harmful pathogens.
Fortunately, keeping your bubbler clean is simple with the right tools and techniques. With a little time and effort, you can maintain a pristine bubbler for optimal performance and enjoyment.
This article provides a step-by-step guide on how to clean a bubbler bong at home. We tell you what supplies to gather, the most effective cleaning methods, and tips for keeping your bubbler in top condition.
A clean bubbler bong provides a better smoking experience. Resin and particulate residue left behind from smoking builds up over time, altering and degrading the taste of herbs and concentrates. Dirty bong water also affects flavor and may support the growth of bacteria and mold that can make you sick.
Cleaning your bubbler regularly, ideally after each use, will:
However, it all starts with investing in a high-quality piece, so check out how to shop for a quality glass bong.
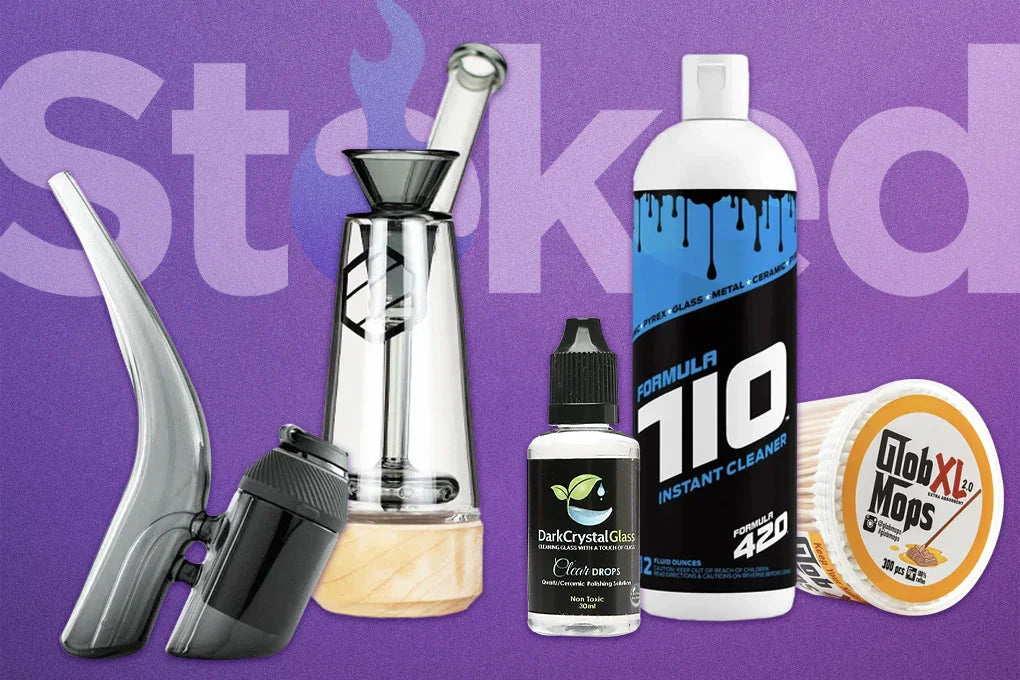
Before you start cleaning your bubbler bong, make sure you have the necessary supplies on hand:
If you don't have isopropyl alcohol, you can also clean your dab rig without isopropyl alcohol using a solution of white vinegar and baking soda.
Carefully take the bubbler apart, removing any removable components like the bowl, stem, and percolators if applicable. Place these pieces in your Ziplock bag or container. Taking your bubbler apart allows the cleaning solution to reach all the nooks and crannies where resin builds up.
Some bubblers may have complex designs with multiple chambers and percolators. Refer to the manufacturer's instructions or website for guidance on disassembling your specific piece properly.
Be gentle when handling the glass components. Place them securely in your cleaning container so they don't bump against each other.
If your bubbler has a fixed downstem that can't be removed, you'll need to clean it with a pipe cleaner or brush while the piece is submerged in the cleaning solution.
Once the bubbler is fully disassembled, you're ready to start the deep cleaning process.
Pour a generous amount of coarse sea salt directly into the bubbler. The salt acts as a gentle abrasive to help dislodge stubborn resin. Add an equal amount of salt to the Ziplock bag or container with the removable bubbler pieces.
Next, add 91% or higher isopropyl alcohol to your bubbler and container until all parts are fully submerged. The alcohol dissolves the resin, while the salt provides a scrubbing action.
For particularly dirty pieces, let them soak in the salt and alcohol solution for several hours or overnight. This extended soaking time allows the solution to break down tough buildup.
If you don't have isopropyl alcohol, you can substitute a solution of equal parts white vinegar and warm water. Add a tablespoon of baking soda for extra cleaning power. However, isopropyl alcohol is the most effective option for deep cleaning.
With your bubbler and pieces soaking in the salt and alcohol solution, they're well on their way to becoming sparkling clean. The next step is to shake everything well and let the solution work its magic.
After adding the salt and alcohol to your bubbler and container with the removable pieces, it's time to let the cleaning solution do its work.
First, ensure all your bubbler openings are tightly sealed with rubber stoppers or cotton balls. This prevents the cleaning solution from leaking out during shaking.
Grasp your bubbler firmly and shake it vigorously for 3-5 minutes. The shaking motion helps the salt and alcohol solution dislodge stubborn resin and buildup. Shake the container with the removable pieces as well.
As you shake, the alcohol will turn brown as it dissolves the resin. Keep shaking until you've thoroughly agitated the solution throughout your piece.
After shaking, let your bubbler and pieces soak in the salt and alcohol mixture for at least 30 minutes. For extra-dirty pieces, soak for several hours or overnight.
During soaking, the alcohol continues to break down tough residue. The longer you let your pieces soak, the easier it will be to remove any remaining buildup.
If you have time, periodically shake your bubbler and container during soaking to help agitate the solution and speed up cleaning. You can also use this time to clean your bowl, downstem, and other small pieces with pipe cleaners or brushes.
After shaking and soaking, your bubbler should look much cleaner. The next step is to give it a good rinse and scrub to remove any lingering residue before reassembling your sparkling clean piece.
After your bubbler pieces have finished soaking, it's time to give them a thorough rinse. Remove each component from the cleaning solution and hold them under warm running water.
Use pipe cleaners or a bottle brush to remove stubborn residue as you rinse. These tools allow you to reach hard-to-reach areas like percolators and stems.
Continue rinsing each piece until the water is clear and free of debris or cleaning solution. Be gentle when scrubbing and handling thin or delicate glass components to avoid chips or cracks. If a piece has complex percolators or curves, carefully clean those spots.
Avoid harsh chemicals like bleach or acetone, which can damage glass or leave dangerous residues behind. Instead, rinse with plain water after soaking in the salt and alcohol solution.
If you notice any lingering smell of alcohol after rinsing, soak the pieces in clean water for a few minutes to help remove the odor. Distilled or filtered water is best to prevent mineral buildup from hard water.
Once the pieces are thoroughly rinsed, set them on a clean, lint-free towel or drying rack to air dry. Let the pieces dry completely before reassembling them to prevent any moisture from getting trapped inside, which can lead to mold or bacterial growth.
Once you've thoroughly rinsed the bubbler pieces, set them on a clean, lint-free towel or drying rack to air dry completely before reassembling. Avoid using paper towels, which can leave fibers behind on the glass.
To keep your bubbler looking and functioning like new, clean it regularly - ideally every 1-2 weeks with frequent use. Rinse with hot water and wipe down the exterior in between deep cleans. After each use, the bowl should be cleaned with a clean cloth to prevent resin buildup.
You can also use cleaning caps or plugs to seal your bubbler's openings between uses, preventing dust and debris from settling inside. Storing your clean, dry bubbler in a padded case when not in use helps protect it from chips, cracks, and breakage.
For specialized cleaning tips, see how to clean a Puffco Peak Pro.
Maintaining a clean bubbler bong ensures you enjoy the purest flavors and smoothest hits. Here are some tips to help keep your bubbler in pristine condition:
This prevents resin and buildup from hardening, making it easier to maintain a clean piece. After use, a quick rinse and wipe-down can save time on deep cleaning sessions.
Freshwater ensures that every smoking session is as clean as possible. Stale water negatively affects both the taste and the aroma.
Screens catch ash before entering the water, keeping the bong cleaner longer.
Keeping your bubbler in a secure, dust-free environment when not in use protects it from accidental damage and keeps it clean.
A clean bubbler is key to a superior smoking experience. With regular care, your bubbler will deliver clean, flavorful hits and last for years. If you’re already familiar with bubblers, check out our recommendations on Bubbler vs. Bong: Which is Better?
Stoked CT offers a variety of quality bongs and glass bubblers designed to enhance your smoking experience. With our expertly crafted pieces, you can enjoy a cleaner, smoother session every time. We value all customers, so if you’re on a budget, here are the best bongs under $100.
Depending on usage, aim for a deep clean every week to two weeks to keep your bubbler performing at its best.
While effective for certain cleaning tasks, avoid boiling water with delicate glass to prevent thermal shock and potential damage.
Solutions like vinegar and baking soda can be effective, especially for those looking for more natural cleaning methods.
Regular rinses, using screens, and emptying the water after each use can significantly reduce the frequency of deep cleans.


Share: